Steps of Installation of AV Manager and AV Scheduler:
Unzip the avmanagerdemonetworkverdemo.zip to a folder on your hard drive. Double click avmanagerdemonetworksetup.exe.
1-1. The following screen
appears:
Click Next to continue.
1-2. Select I accept the agreement
checkbox and click Next to continue.
1-3. Click Next to continue.
1-4. Click Install
to continue.
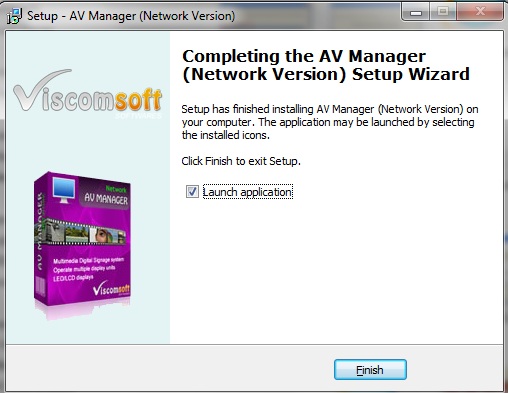
1-5. Click Finish to
completed.
With AV Manager Network version, you
need have 2 computers (at least) connected to an Internet or LAN.
One computer installed AV Manager, Another computers installed AV
Scheduler.
AV Scheduler will installed in a compatible PC to run a digital
signage display like, LCD or Plasma TV/display.
In another computer, Double click
avschedulerdemonetworksetup.exe.
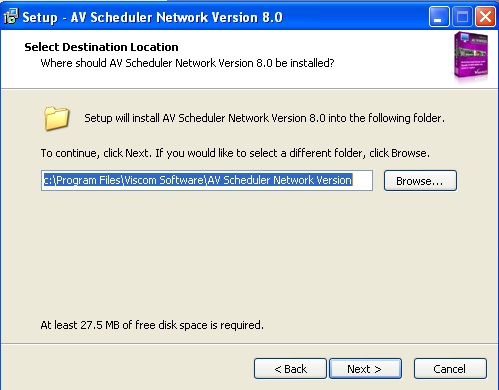
2-1. The following screen appears:
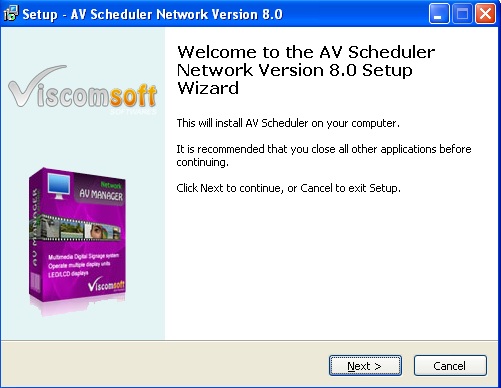
Click Next to continue.
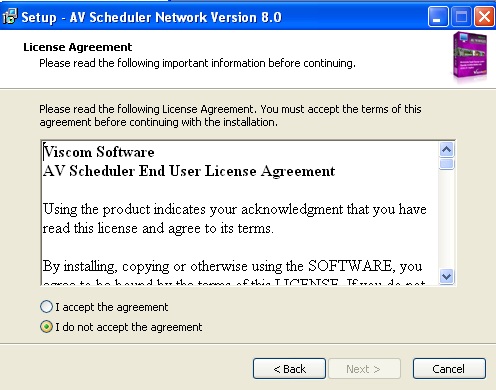
2-2. Select I accept the agreement checkbox and click Next to
continue.
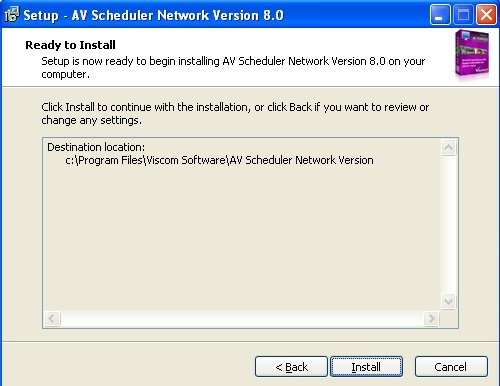
2-3. Click Next to continue.
2-4. Click Install to continue.
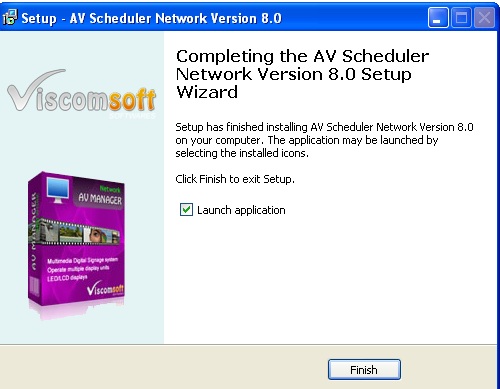
2-5. UnSelect Launch application checkbox, We do not need
Launches AV Scheduler application now. Click Finish to
completed.
3. Install and setup FTP server in AV Scheduler computer
In AV Scheduler computer, you need installed FTP server, you may use window built-in FTP server or third party FTP server.
FileZilla FTP server is freeware, you
may download from http://filezilla-project.org/
Select Download FileZilla Server icon. After downloaded the
FileZilla FTP server installer, run FileZilla FTP server
installer,
3-1. The following screen
appears:
Click I Agree to continue.
3-2. Click Next to
continue.
3-3. Select
Destination Folder, Click Next to continue.
3-4. Select how FileZilla Server should be started, Click Next
to continue.
3-5. Select how the server
interface should be started, Click Install to continue.
3-6. After
installed the FileZilla Server, the following screen appear.
3-7.
The FileZilla
Server interface screen appears.
3-8. Click the
Edit menu and select the Groups
menu item. The screen appears.
3-9. Click Add button and enter admin
group name. The screen appears

3-10. Select Shared folders item in
Page listbox and click Add button. You are
prompted to select folder.
select C:\Program Files\Viscom Software\AV Scheduler
Network Version ,it is FTP server home directory.
Assume you installed AV Scheduler in the default location.
3-11. Click Add
button, You are prompted to select folder.
select C:\Program Files\Viscom Software\AV Scheduler
Network Version\Data,
The screen appears
3-12. Select Write checkbox and
Delete checkbox for C:\Program Files\Viscom
Software\AV Scheduler Network Version\Data item. The screen
appears
3-13. Click Add
button. You are prompted to select folder.
select C:\Program Files\Viscom Software\AV Scheduler
Network Version\Schedule, The screen appears
3-14. Select
Write and Delete
checkbox for C:\Program Files\Viscom
Software\AV Scheduler Network Version\Schedule item. The screen
appears
3-15. Click the
Edit menu and select the Users
menu item. The screen appears
3-16. Click Add button , enter avmanager user name
and select admin group. The screen appears
3-17. Select Password checkbox and enter
avmanager. The screen appears
4. Add
Exceptions to Window Firewall in AV Scheduler computer
4-1. If the FileZilla Server running on window 7,vista or your
window installed firewall. You need allow FileZilla Server through
Windows FireWall.
Select Control Panel - Window Firewall, select Allow a
program or feature through Windows Firewall option, Select
Allow another program...
The screen appears
4-2. Click Browse... button and select
C:\Program Files\FileZilla Server\FileZilla
server.exe, The screen appears
Click Add button to continue
4-3. Then you will see the FileZilla
Server in allowed programs and features list, The screen
appears.
4-4. You may
checking whether find the AV Scheduler in allowed programs and
features list. If it does not existing in allowed programs and
features list.
Select Allow another program... Click
Browse... button and select C:\Program
Files\Viscom Software\AV Scheduler Network
Version\AVScheduler.exe,
The screen appears
5. Register AV Scheduler
5-1. Now make sure the AV Manager is
running , then run the AV Scheduler in another computer .
The screen appears
5-2. Enter the IP address of AV
Manager and enter the display unit name. Click OK to confirm.
The screen appears
Then you will see black screen. Now the AV scheduler is
running.
5-3. If the AV scheduler can connected to AV Manager, you will see
the display unit added on AV Manager.
The screen appears
6. Setup FTP
user name and password in AV Manager computer
6-1. In AV Manager
computer. Click the Maintenance menu and select
the System Configuration menu item. UnSelect
Anonymous Login checkbox, enter the UserID to
avmanager and Password to
avmanager
The screen appears
6-2. Finally you may upload our event01 schedule to AV scheduler from AV Manager. If you still encountered any problems, you may refer Diagnose AV Manager Network Version upload schedule problem
Hints:
In AV Scheduler's computer, you can use turn on Automatic Logon without editing the registry in Microsoft Windows XP Home Edition and in Microsoft Windows XP Professional on a computer that is not joined to a domain. To do this, follow these steps:
Click Start, and then click Run.
In the Open box, type control userpasswords2, and then click OK.
Clear the "Users must enter a user name and password to use this computer" check box, and then click Apply.
In the Automatically Log On window, type the password in the Password box, and then retype the password in the Confirm Password box.
Click OK to close the Automatically Log On window, and then click OK to close the User Accounts window.
| Copyright c 2010 www.viscomsoft.com. All rights reserved. |