
|

|
Steps of Installation of AV Manager and AV
Scheduler:
Unzip the avmanagerdemosinglever.zip to a folder on your
hard drive. Double click
avmanagerdemosinglesetup.exe.
1-1. The following screen appears
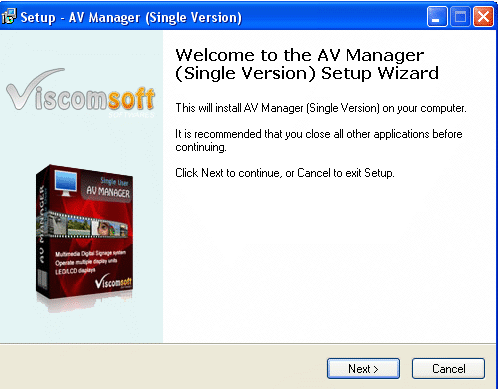
Click Next to continue.
1-2. Select I accept the agreement checkbox and click Next to continue.
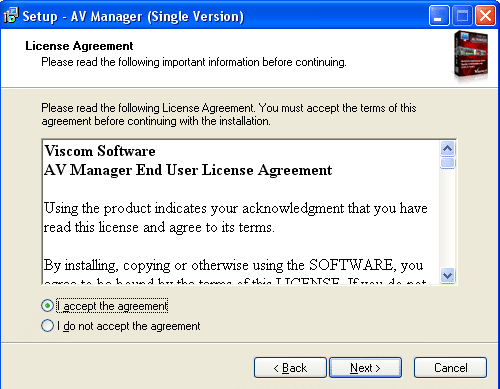
1-3. Select I accept the agreement checkbox and click Next to continue.
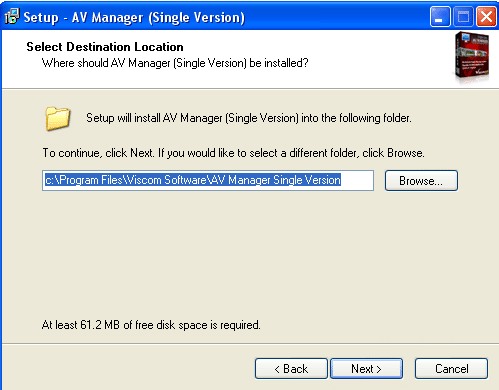
1-4. Click Install to continue.
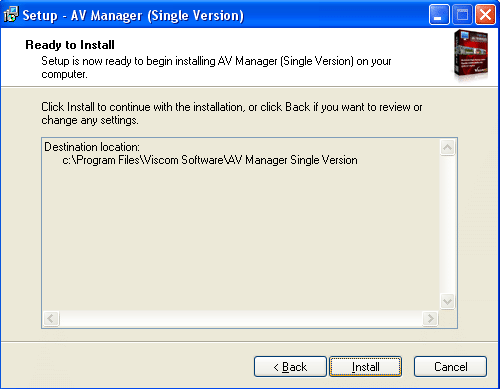
1-5. If you need display Powerpoint content in AV Manager, select Yes to installing Microsoft PowerPoint Viewer 97 Viewer. Click Finish to completed.
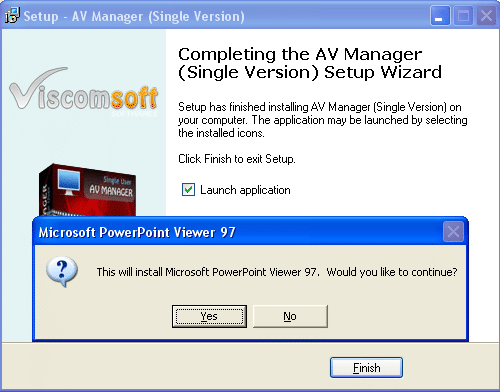

With AV Manager Single version, AV Manager and
AV Scheduler will installed on same computer.
In same computer, Double click
avschedulerdemosinglesetup.exe.
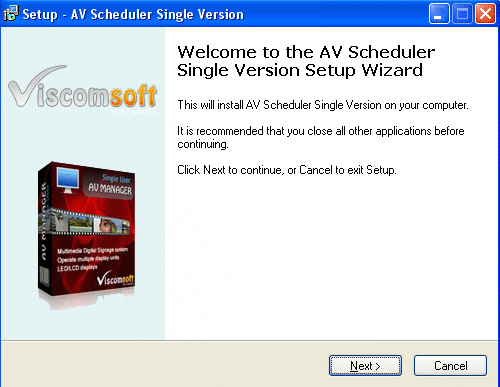
2-1. The
following screen appears:
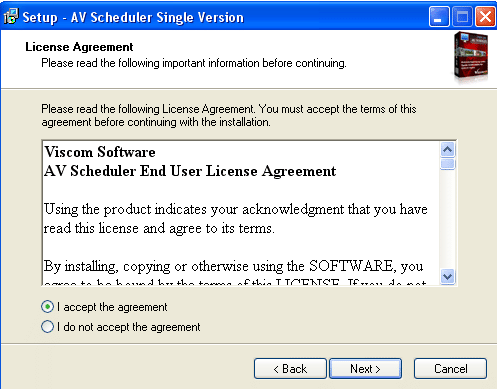
2-2. Select I
accept the agreement checkbox and click Next to
continue.
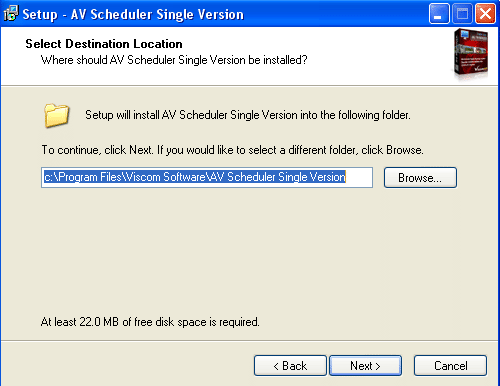
2-3. Click Next to continue.
2-4. Click Install to continue.
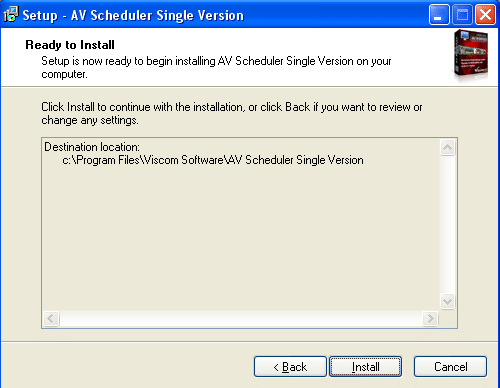
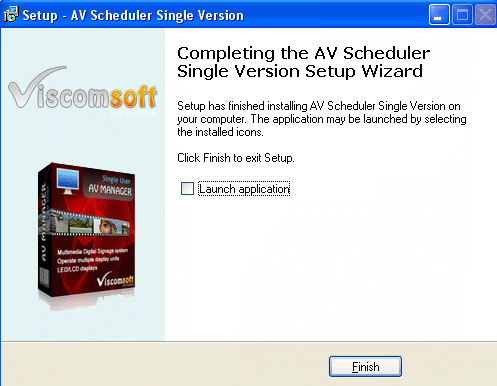
2-5. UnSelect Launch application checkbox, We do not need Launches AV Scheduler application now. Click Finish to completed.
3. Setup AV Scheduler
Folder in AV Manager
After installed AV Manager and AV
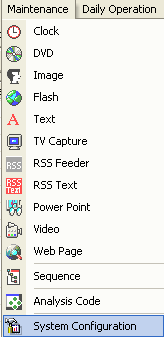
Scheduler, Run AV Manger and
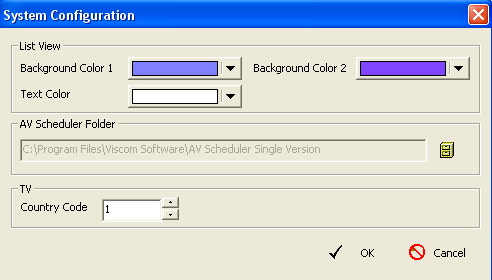
check the the path of the AV Scheduler
Folder specified in System
Configuration. Make sure it is the same as the actually
installation path of the AV scheduler.
| Copyright c 2011 www.viscomsoft.com. All rights reserved. |