Getting Started
Viscom Software VideoCap ActiveX Control |
Getting Started
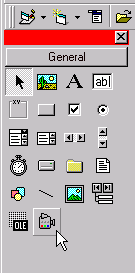
Assuming that you have already run the Videocap Live ActiveX Control installation program and started Visual Basic, the next step is to create a project. To do this begin by selecting the "New Project" command from the file menu and select "Standard EXE" as your project type. Then use the "Project/Components.." command to include the file "videocap.ocx" into the new project. You will see VideoCap Live ActiveX Control icon appear at the bottom of the toolbox.
|
|

Select Control
Click on the VideoCap Live ActiveX Control icon and draw it on the form. A rectangle should appear on the form, and the Visual Basic Project window form on the right should display VideoCap Live ActiveX Control's properties.
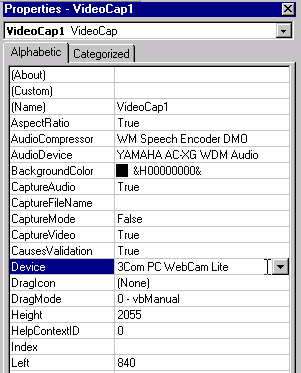
Selecting a Video Source
In the properties window, click on the Device property. It will display all video sources that are installed on your computer in a combobox. Select the one you wish to use:
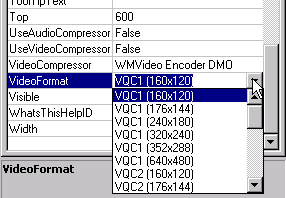
Select Video Format
The video format determines the video stream's image size and color depth. Select one in the VideoFormat box:
Add Program Code
In the Form Load event, add this line of code, which will automatically enable the live video display when the program is started.
Private Sub Form_Load ()
VideoCap1.Start
End Sub